1943 MB Restoration progress
Click on any thumbnail to see full size
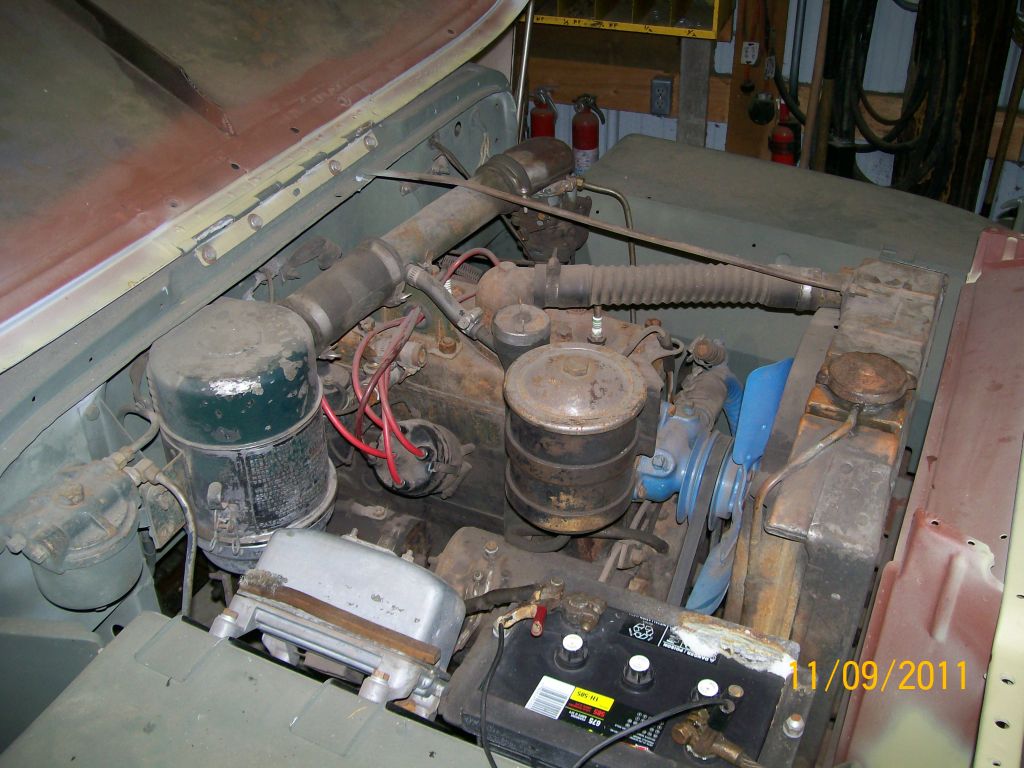
What I Started with 11/9/2011
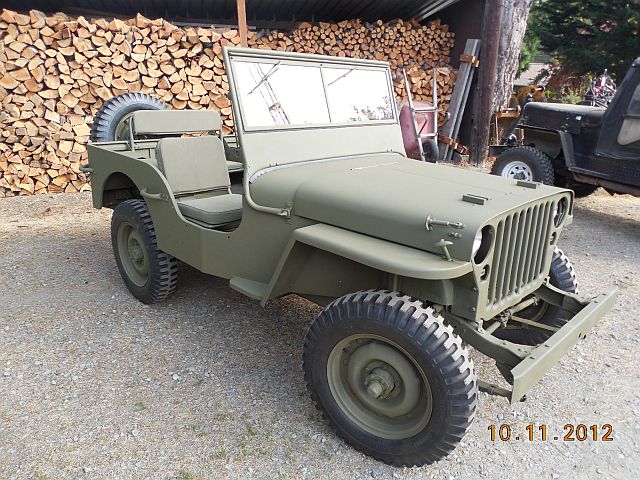
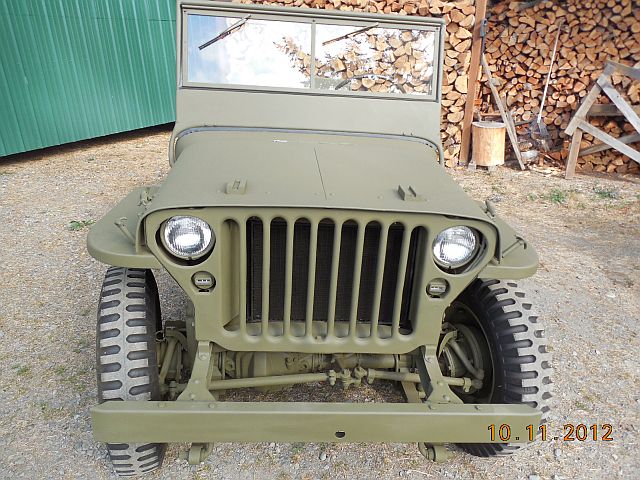
What it looks like now 9/30/2012

Finish Painting the 1943 MB 9/21/2012
6/5/2012
Working on the rear panel mounting lights, spare tire bracket, jerry can bracket, footman loops and reflectors.
3/25/2012
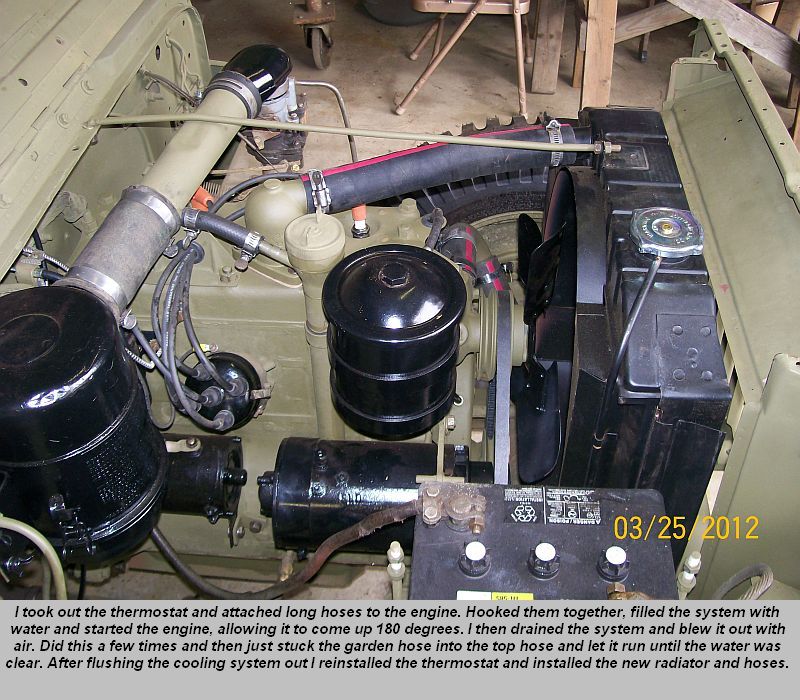
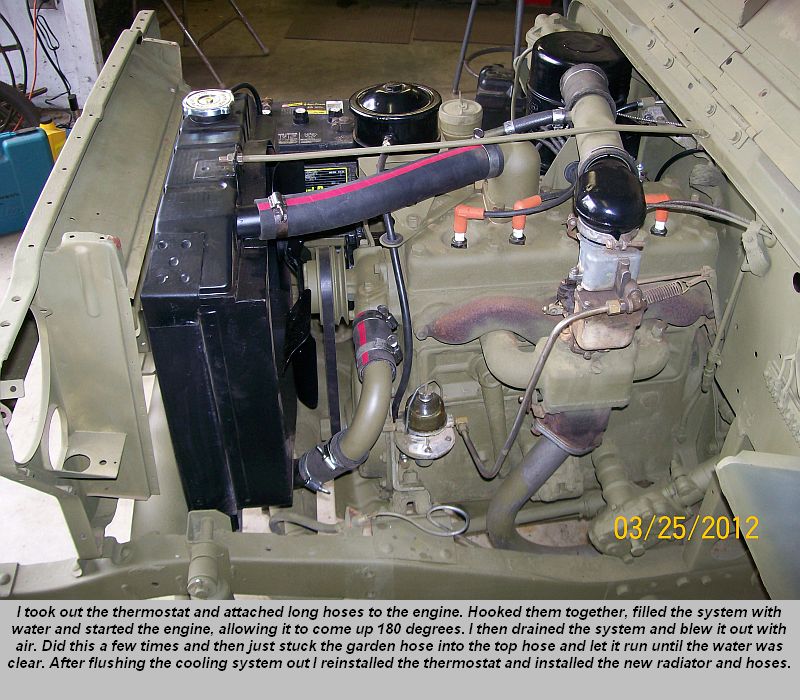
Cooling System flush & Radiator installation
5/4/2012
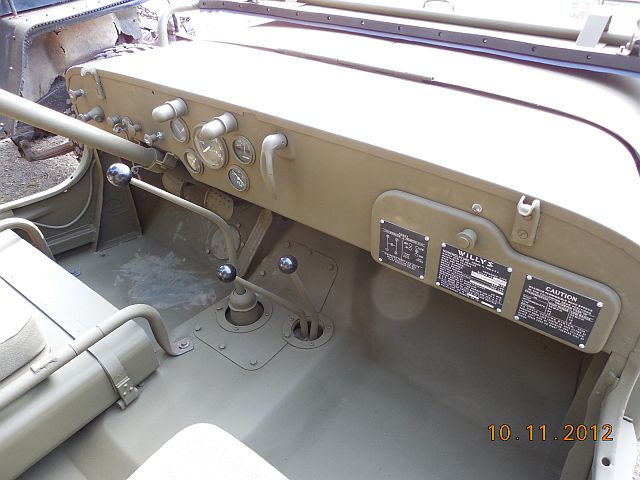
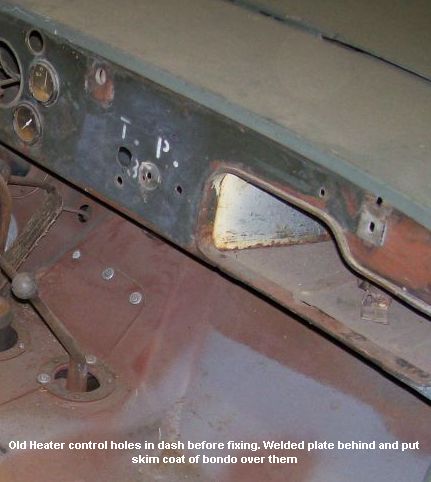
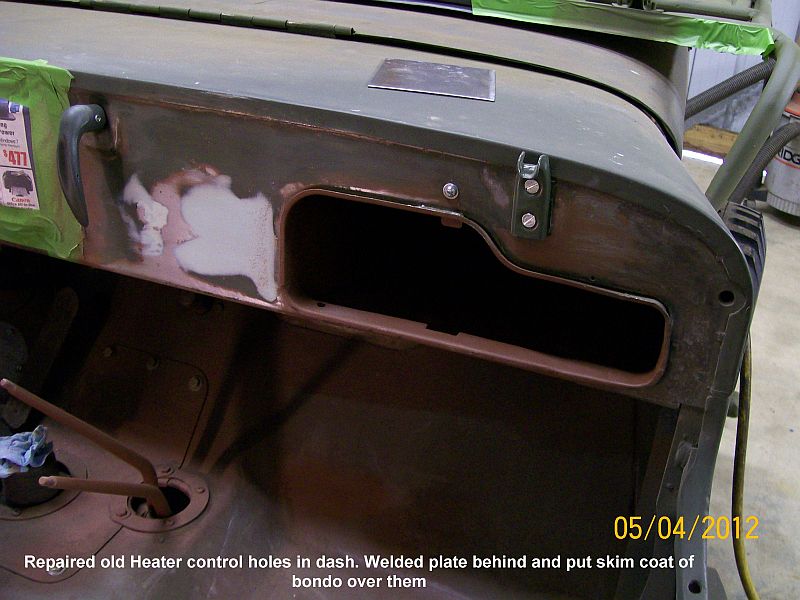
Repairing old heater holes in dash.
First I cleaned up the area around the holes. (front & back)
I cut a plate to put behind the holes and clamped it in place tight to the backside of the dash. I then tacked it to the dash from the front side around the inside edges of the holes.
Put two skim coats of bondo in the holes and sanded it all down. Dash will soon be ready for painting.
6/22/2012
1943 MB Auxiliary stop/tail light
5/21/2012
Black Out Tail Light Assemblies
5/12/2012
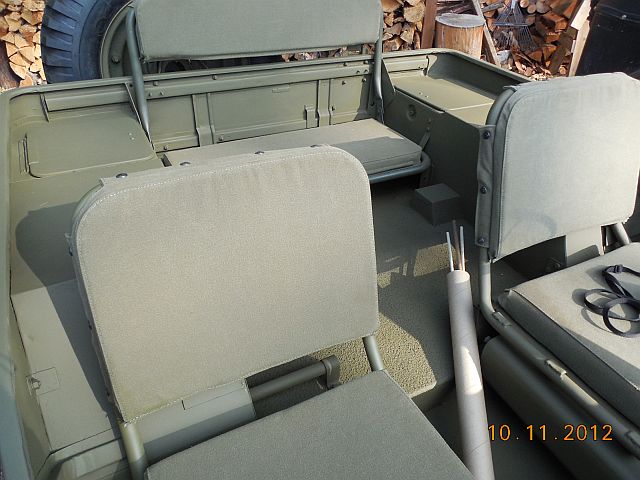
Big Boy Drivers Seat Modification
5/3/2012
3/5/2012
Windshield replacement & installation
Emergency Brake handle & cable installation
December 2011
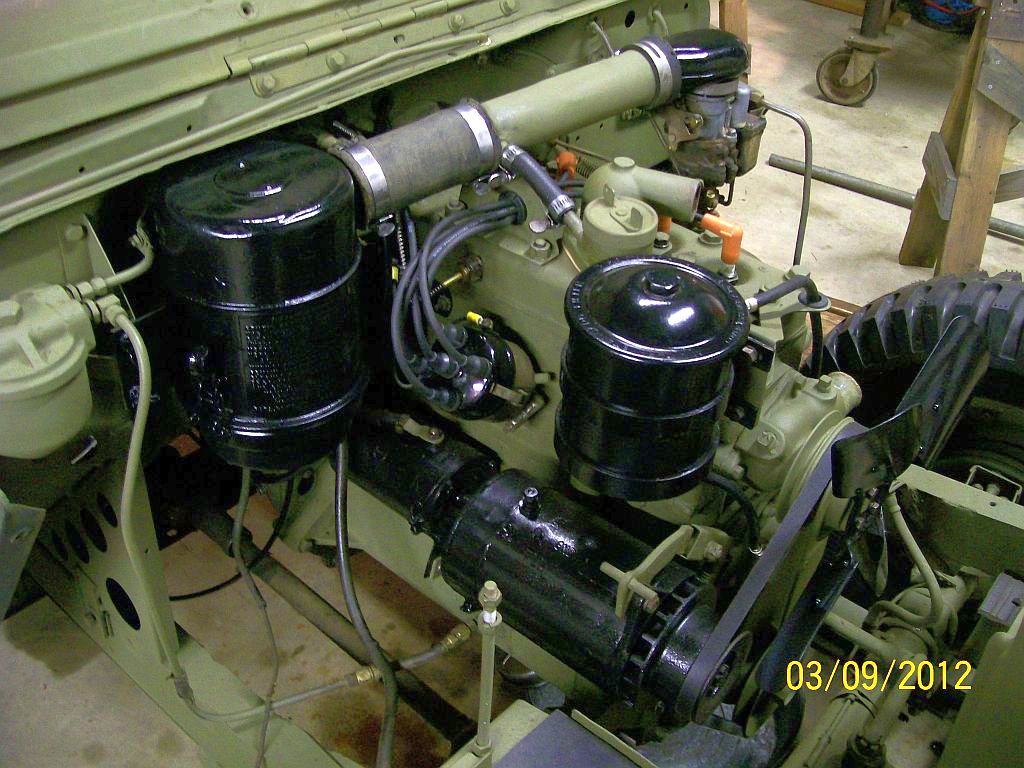
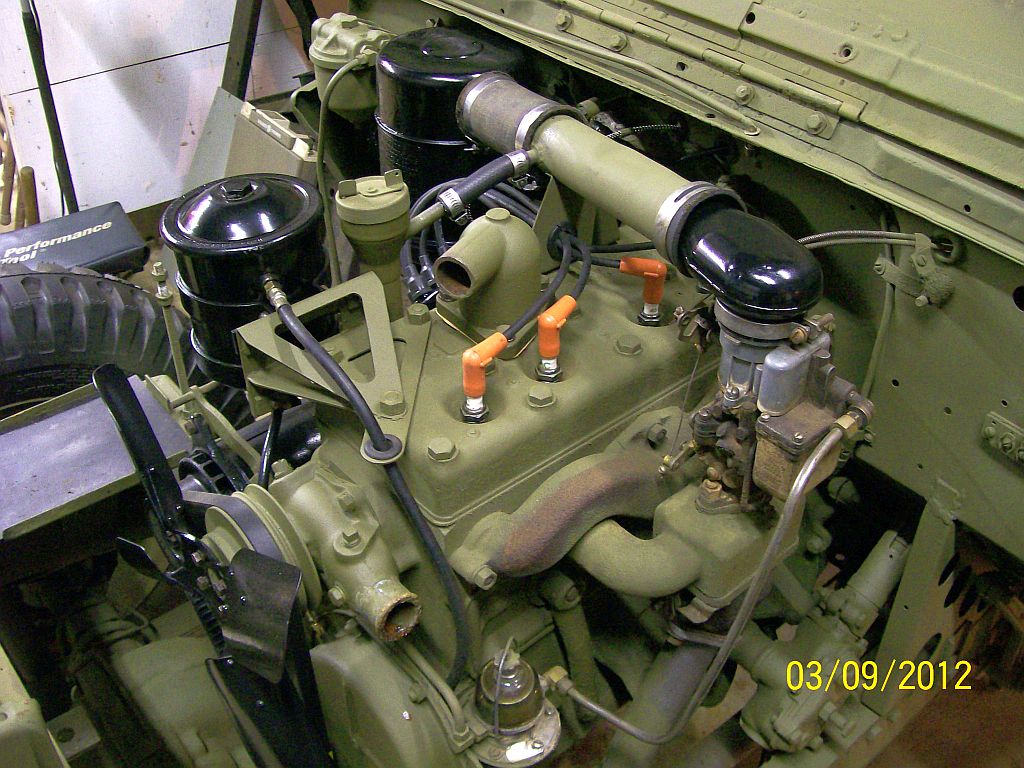
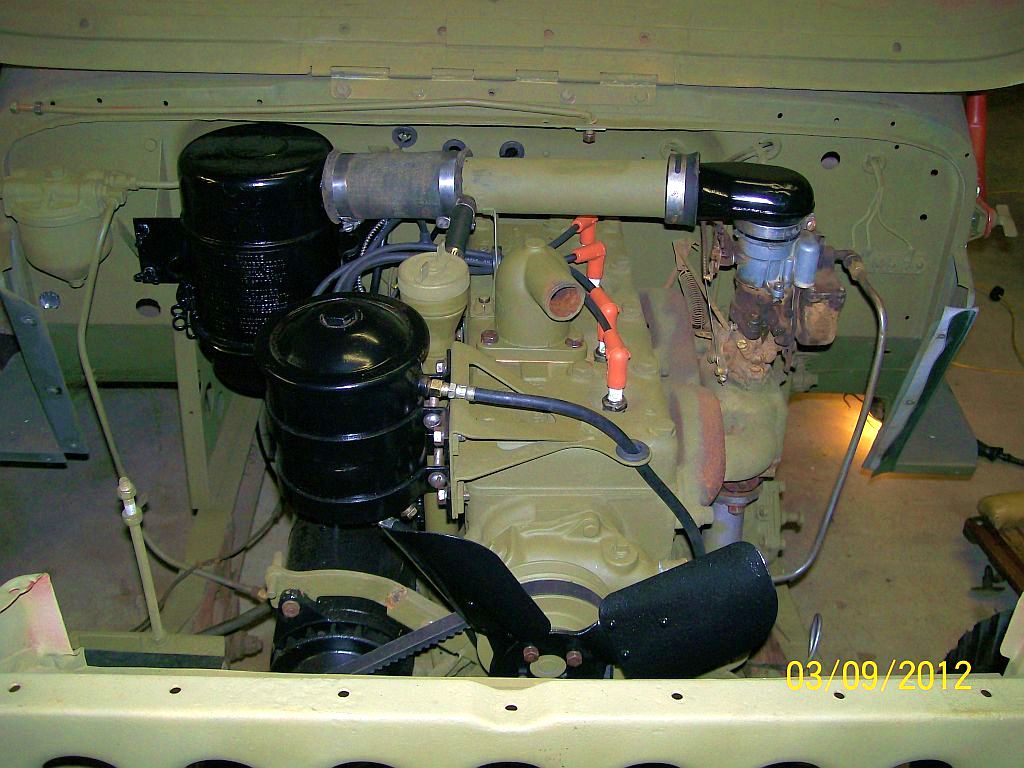
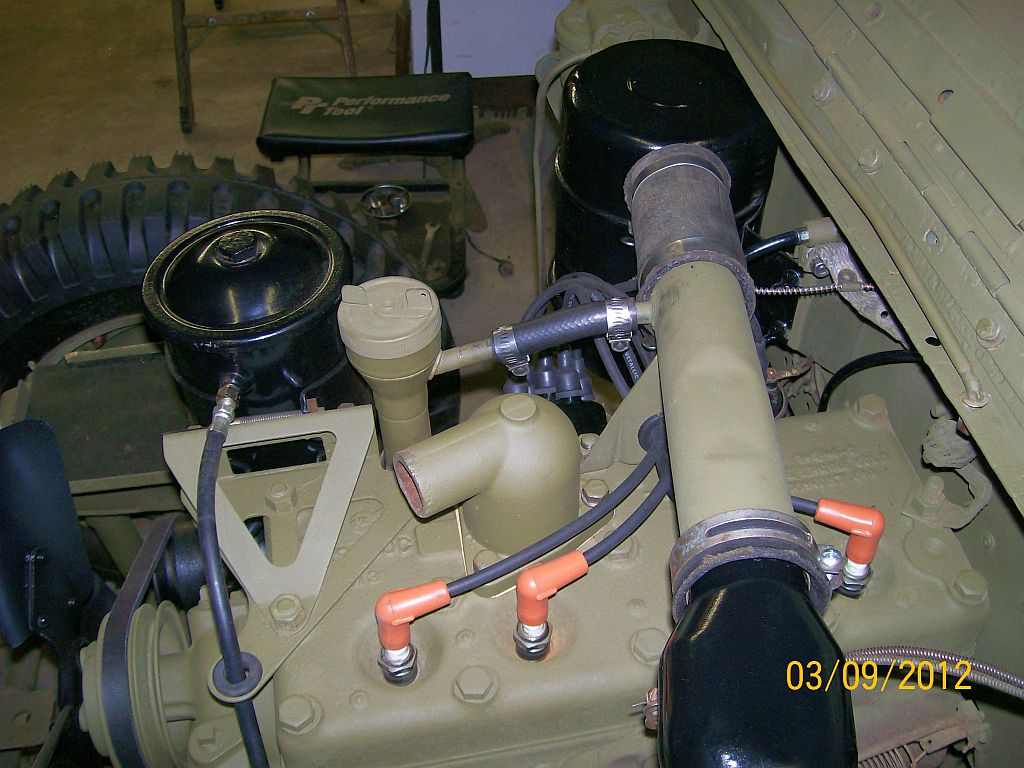
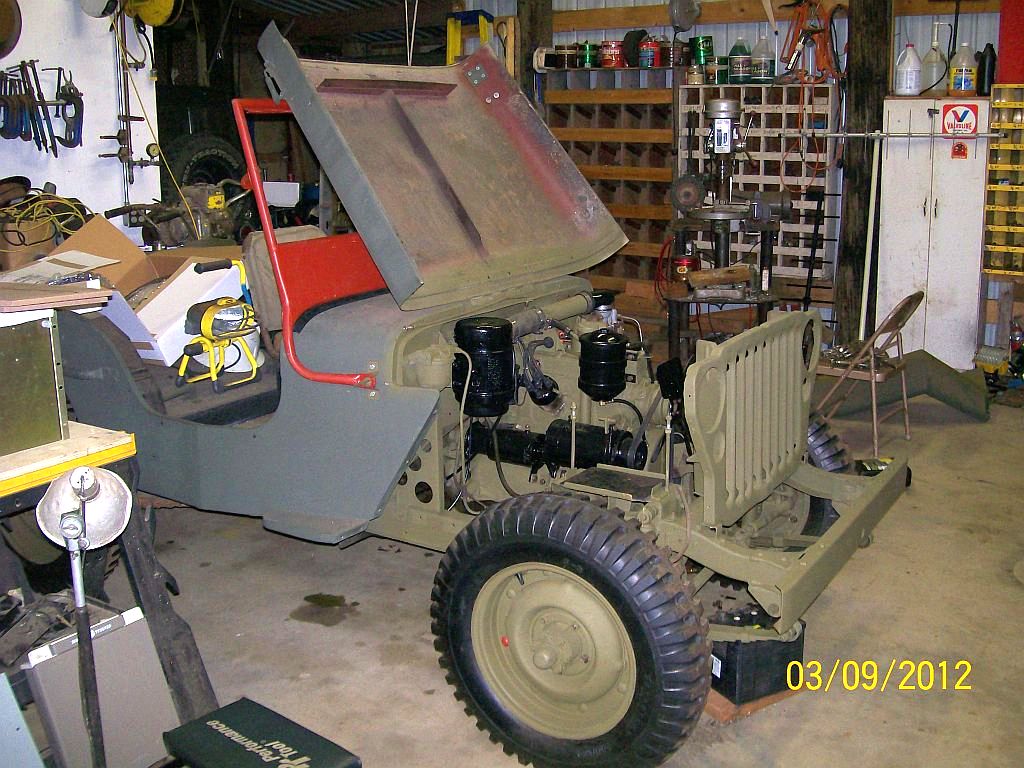
3/9/2012
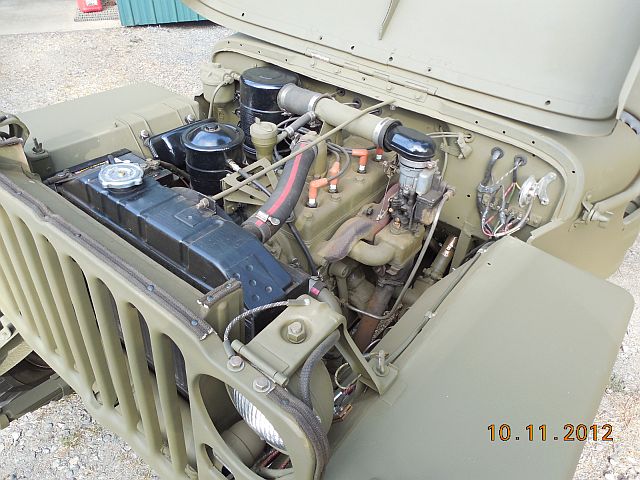
Making progress on Engine Compartment
When I cleaned the Oil Filter out to replace the filter I found a gunk in the canister that was unrecognizable. This made me pull the pan for clean out also. It was 3/4" full of the same gunk. The oil pump screen was just about plugged too. Can't believe the oil pressure was 40 pounds when I had it running 11/10/2011. Anyhow I cleaned out the oil pan & pick up screen and put the pan back on. With the new radiator I bought for the restoration to be put on next, I pulled the thermostat to enable a good flush of the cooling system. The retainer that holds the thermostat in the housing had become part of the housing. Had to scrape it out and use a wire wheel to clean up the inside of the housing. Ordered a thermostat, retainer and gasket from Ron Fitzpatrick Jeep Parts, of G503.com . When doing a restoration you always find little unexpected problems. When taking off the generator for cleaning & paint I found the rubber mounting bushings completely rotted away. Replaced the rubbers and the shoulder bolts to make the generator line up to the other belt pulleys. Bought ebrake handle & cable and installed. Bought new temp gauge because mine was really rusted on the face and would be hard for me to restore. Also bought Speedometer & cable to install. These were installed now while I had everything off the firewall and made it easier to route and clamp the cables. Next, I hook the cooling system radiator hoses together and start the engine. Will bring it up to temperature a few times, (draining the water in between starts) flushing the system many times before plumbing the new radiator into the system. Most of my parts seem to be ordered from Ron Fitzpatrick Jeep Parts, of G503.com . I find them to be great to work with.
Oil Pressure Update 3/24/2012... After cleaning & flushing oil system, I now have 58 pounds of oil pressure cold.
This is what I started with...
This is what it looks like right now
Pictures of my headway on the Jeep 3/9/2012

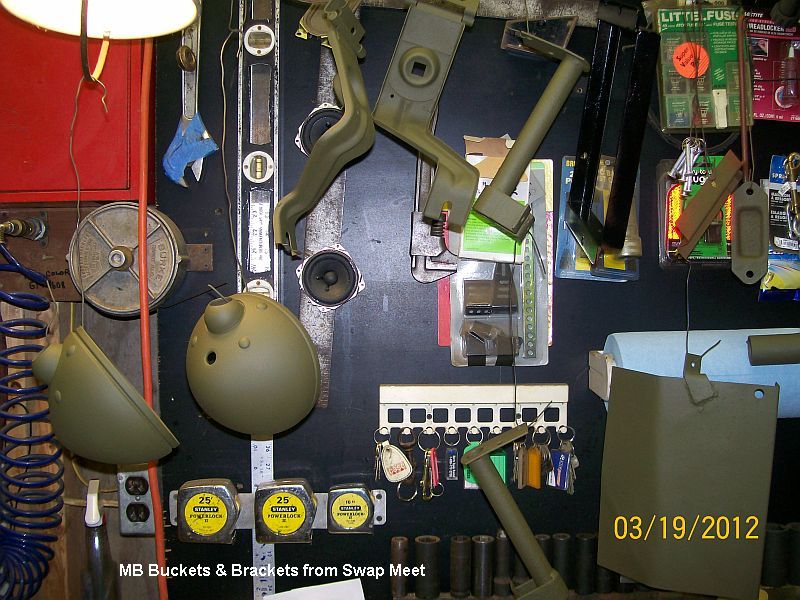
3/19/2012
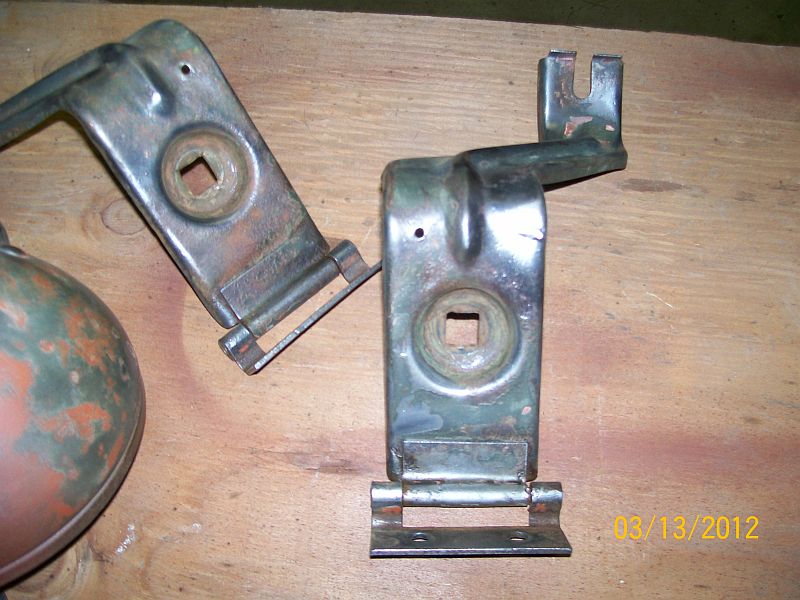
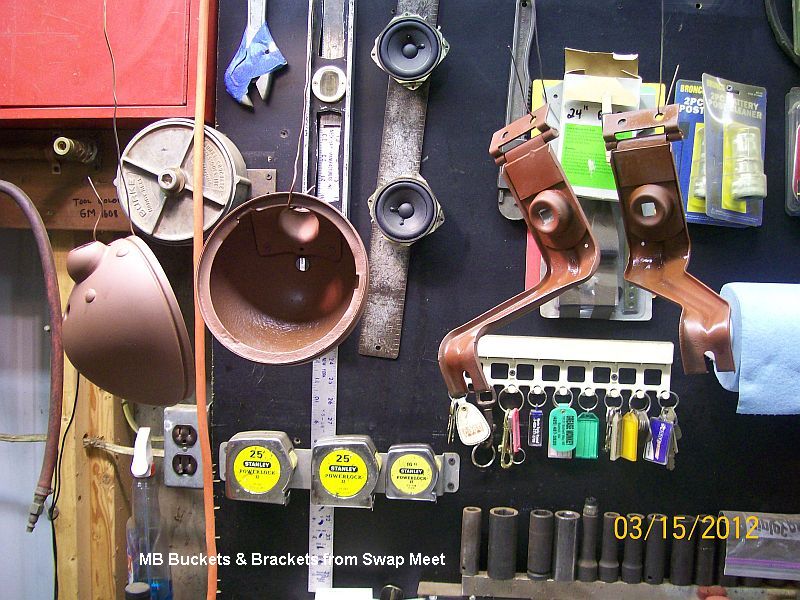
Working on Headlight Buckets & Hinged Brackets I got at the 4x4 Swap meet. (without rings)
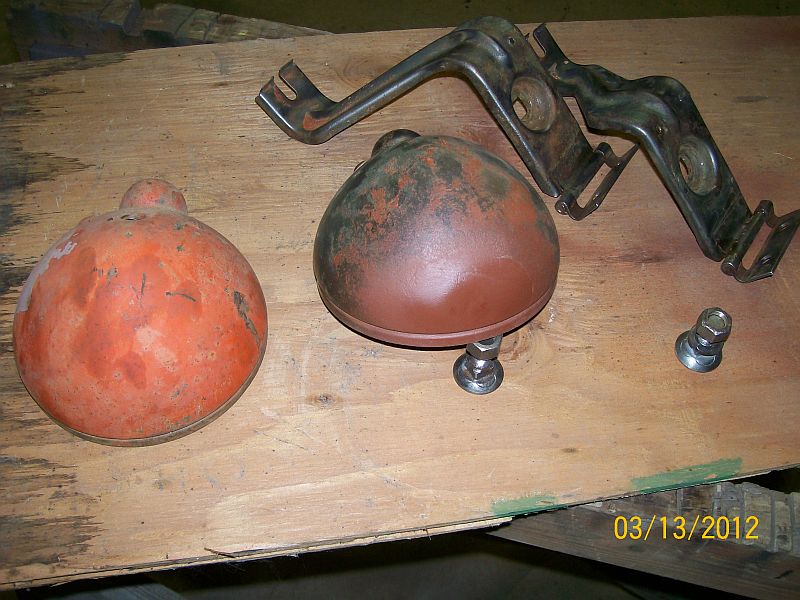
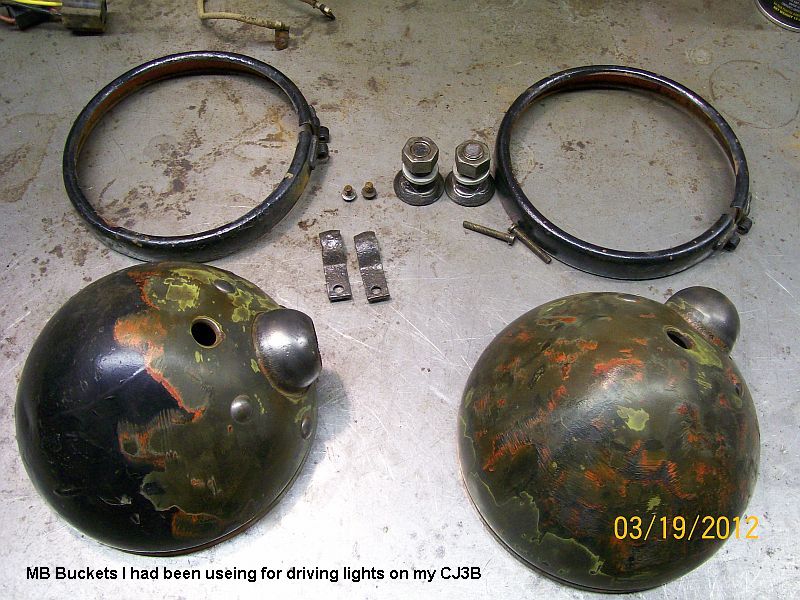
MB Buckets I had been using on my CJ3B for driving lights. I had to use the rings from these for the MB.

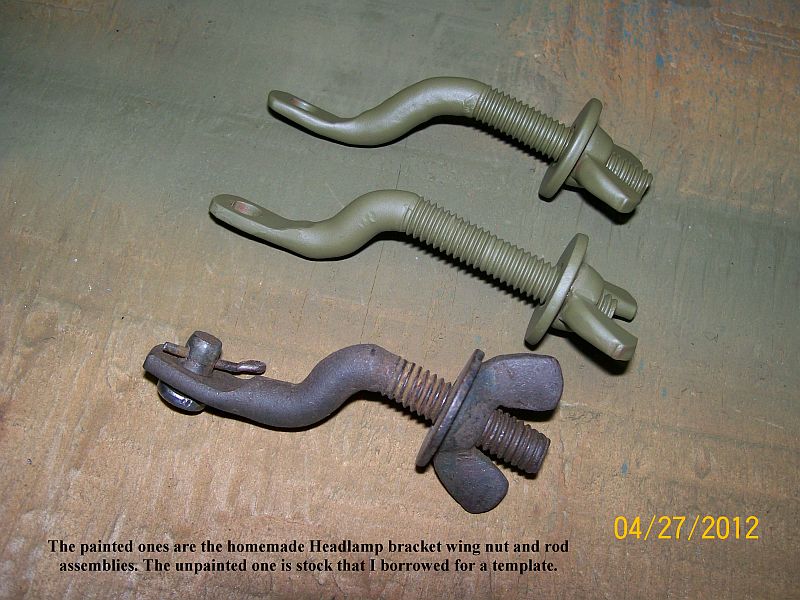
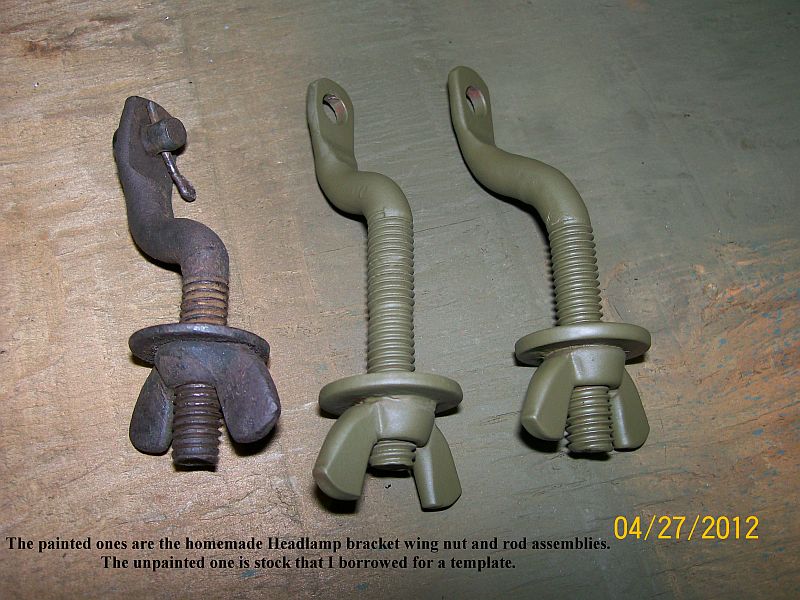
Headlamp bracket wing nut and rod assembly could not be found to buy.
So I borrowed one from John Kenner for a template and fabricated my own. (Thanks John)
The painted ones are the ones I fabricated & the unpainted one is stock MB
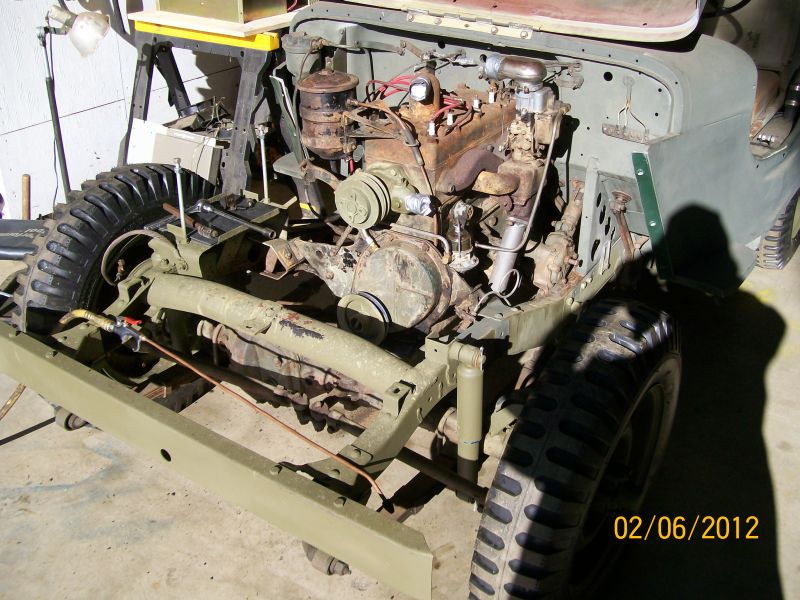
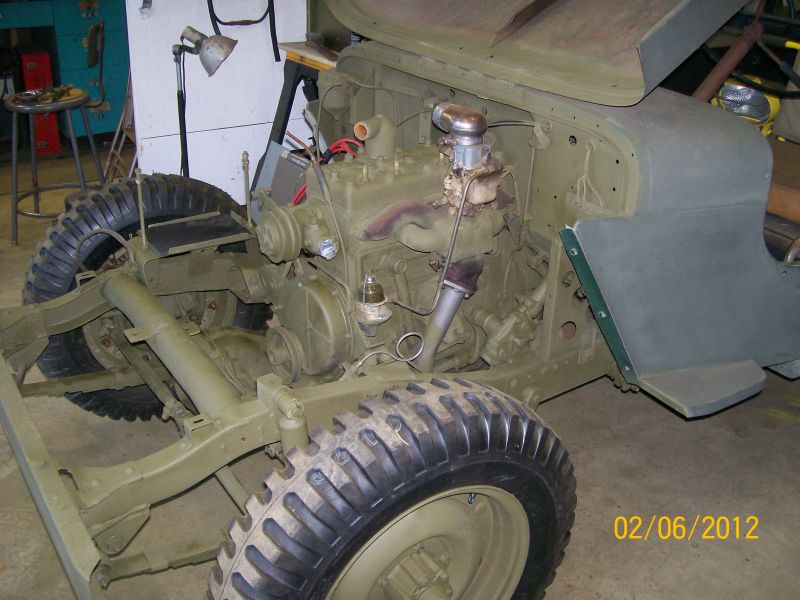
2/6/2012
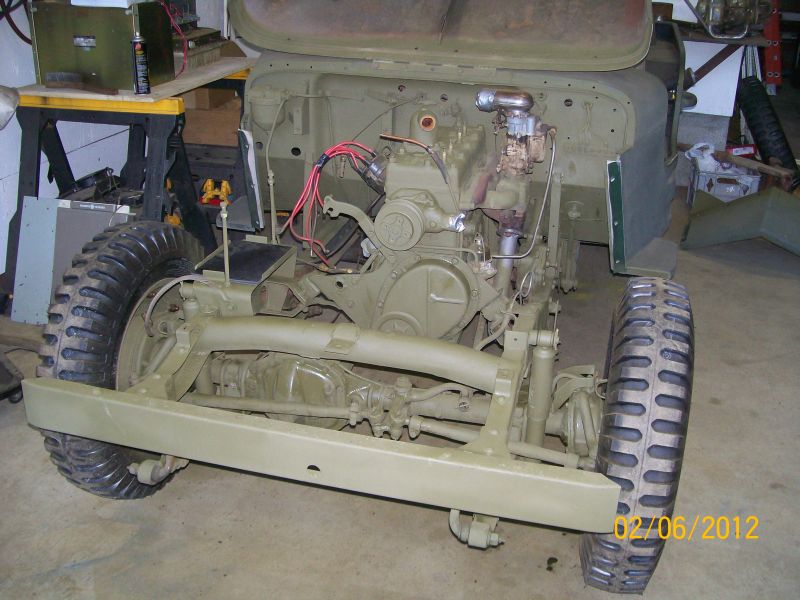
Moved Jeep outside and washed out the engine compartment. Moved it back inside and started taking off parts to clean & paint. Wire brushed the rusty areas. Painted the whole engine compartment and engine block. Also painted the inside of the fender wells.
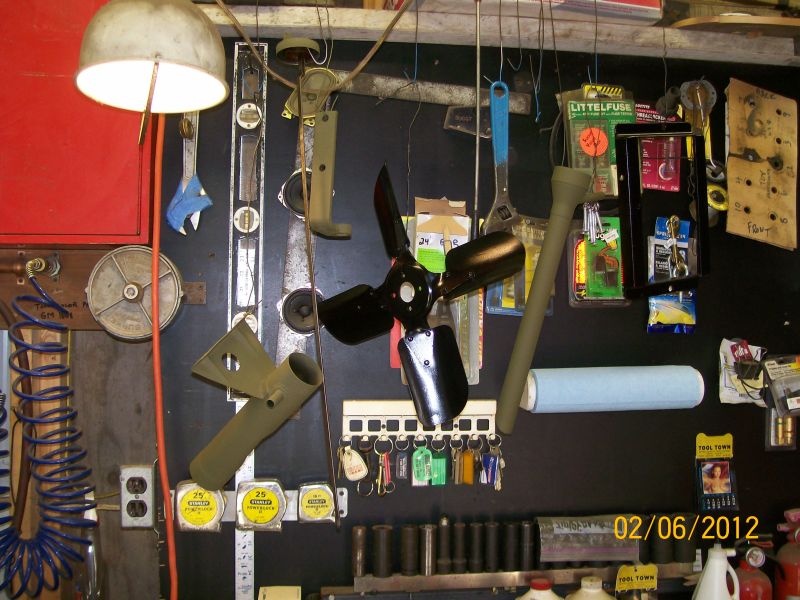
Before Paint Small Parts After Painting
2/1/2012
Took a good look at the radiator that came with the Jeep. Was thinking about how much an engine can heat up in a parade, so decided to pull it out and take it to the radiator shop for a good clean. Ron said it looked pretty good when we delivered it. He called me back after testing it and said the core was the original radiator & just plain rotten. Had about 60 little leaks. He said he could re-core it and make it good for about $450.00. I went to G503 Vintage Jeep Parts and found I could buy new from them for $475.00. So I ordered Radiator, Cap & hoses from G503. This was a unexpected expense as the radiator had looked good to me and didn't seem to leak. Will flush the block well before putting the radiator back in.
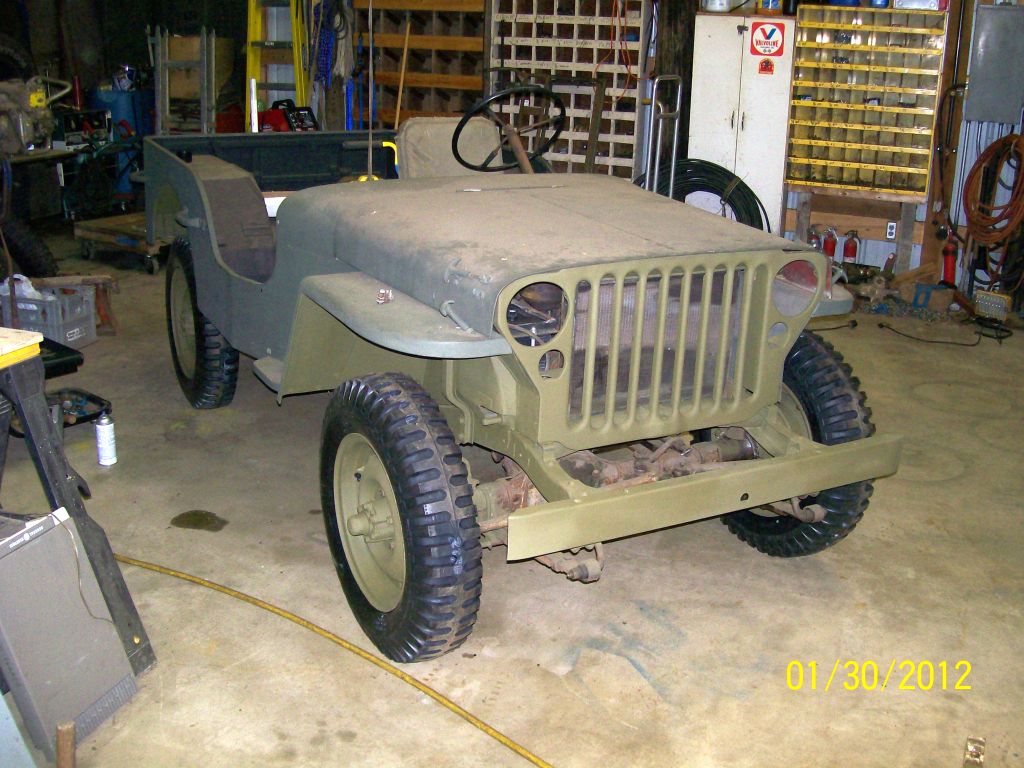
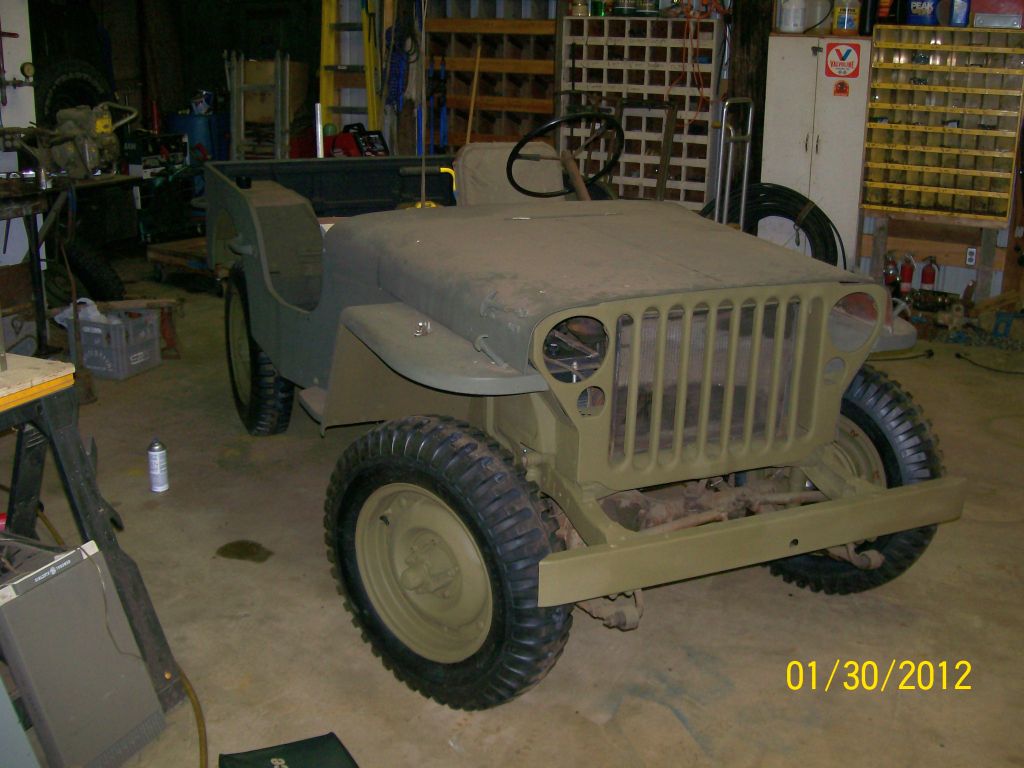
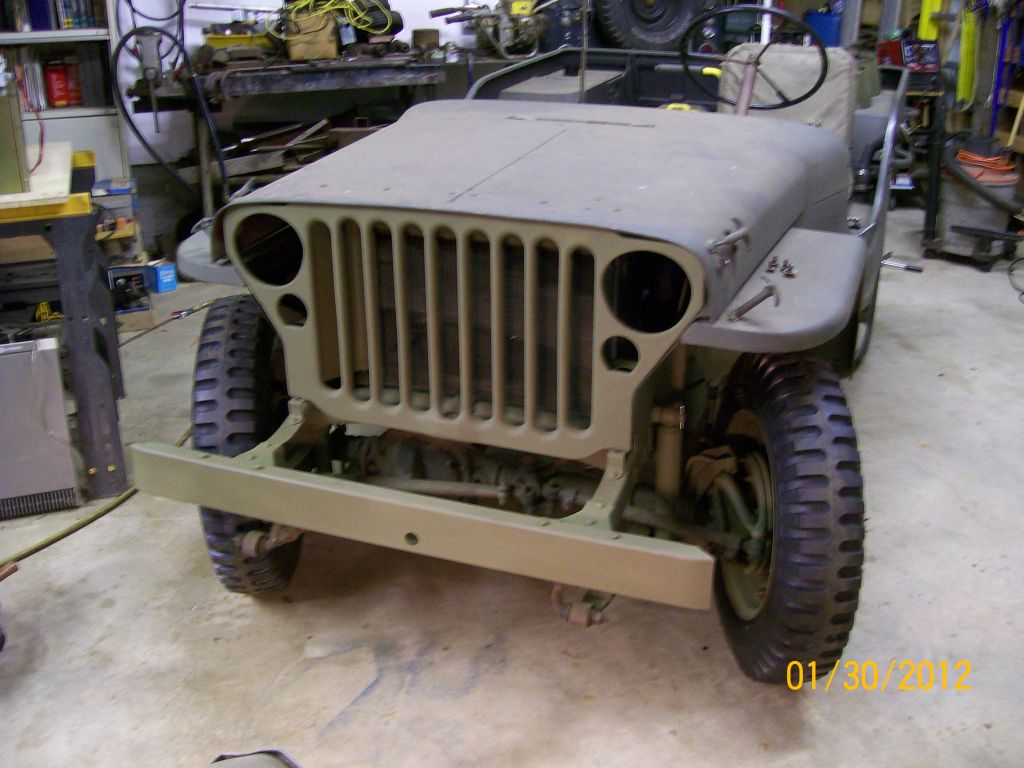
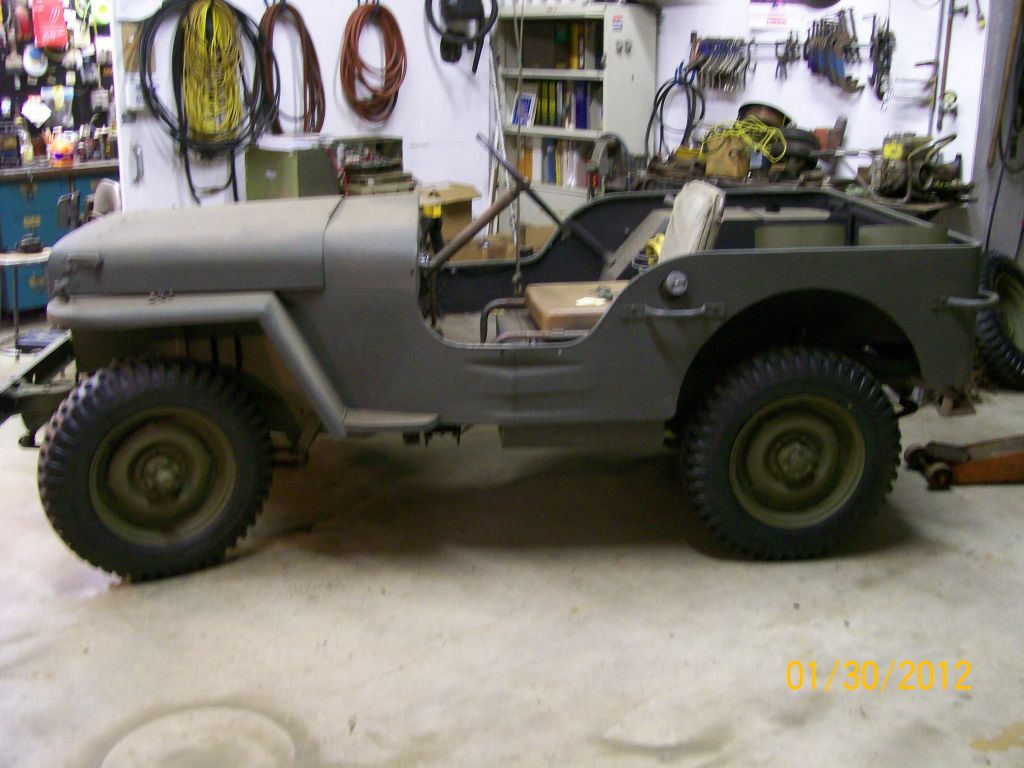
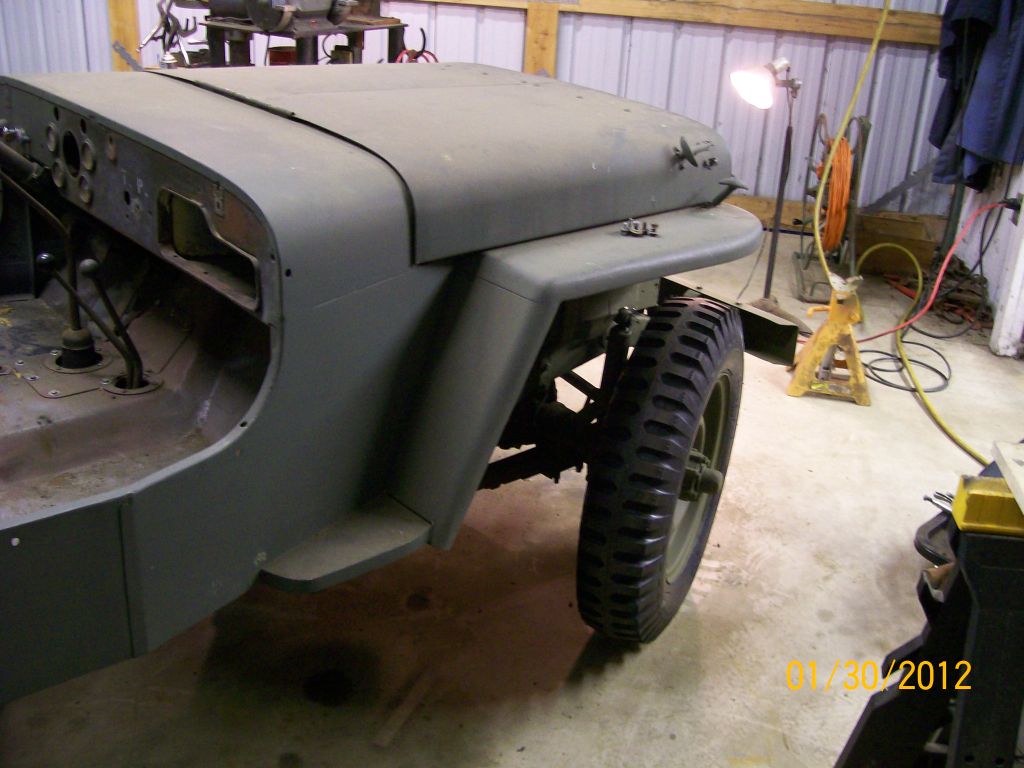
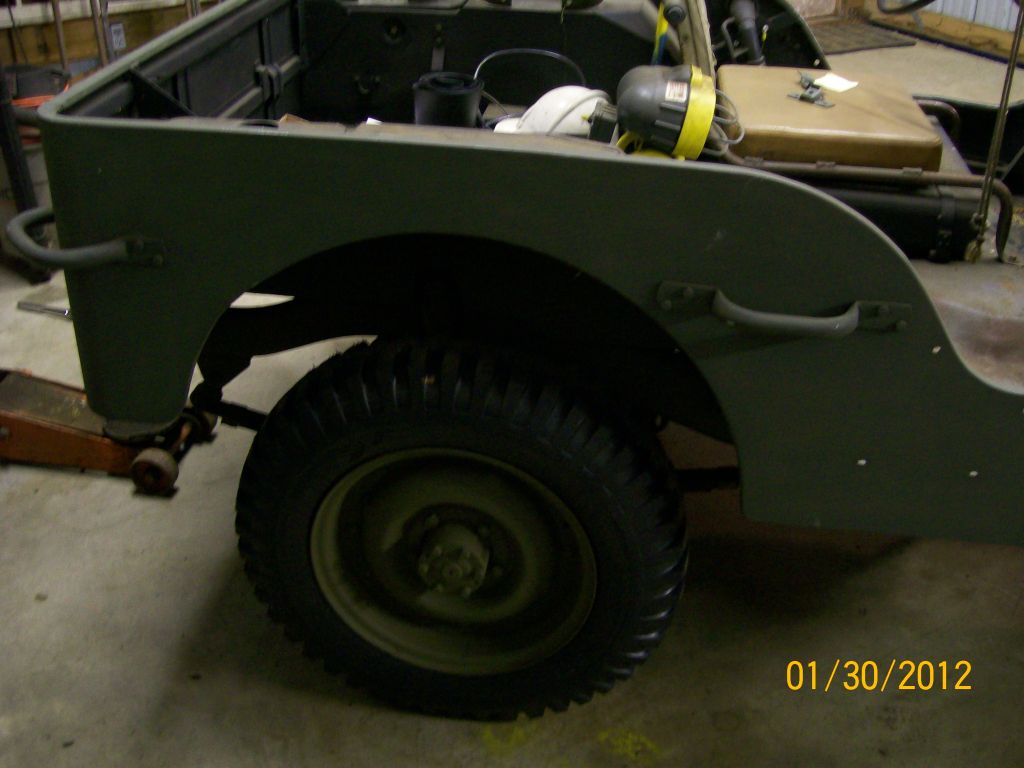
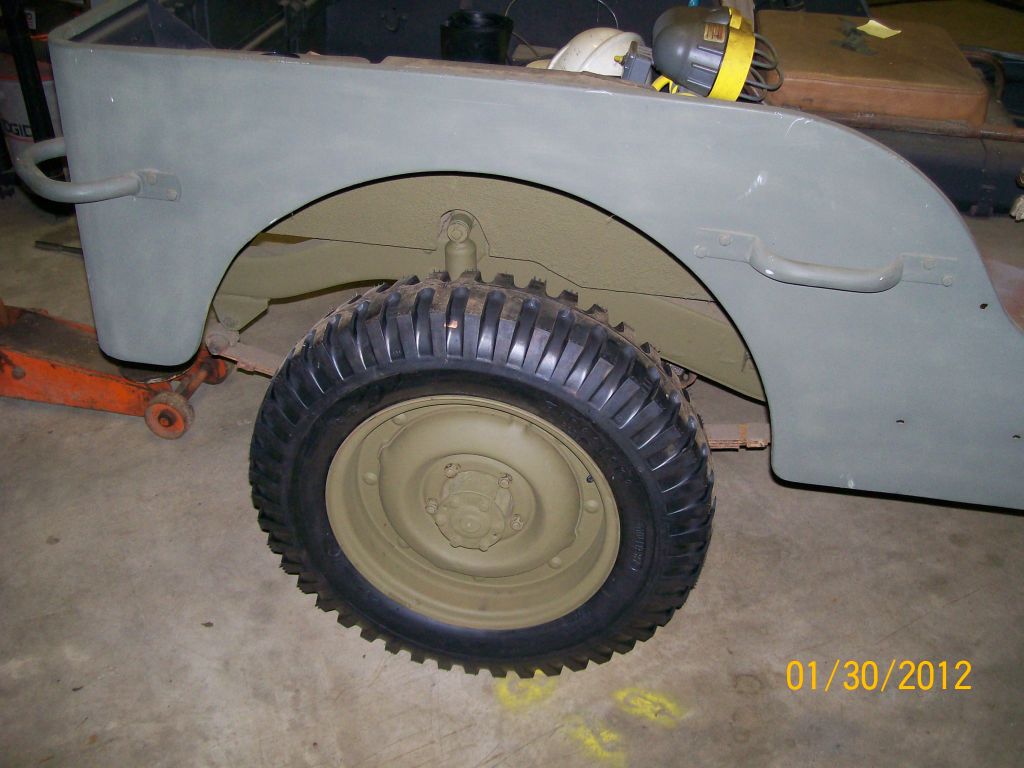
1/30/2012
New tires and shocks on


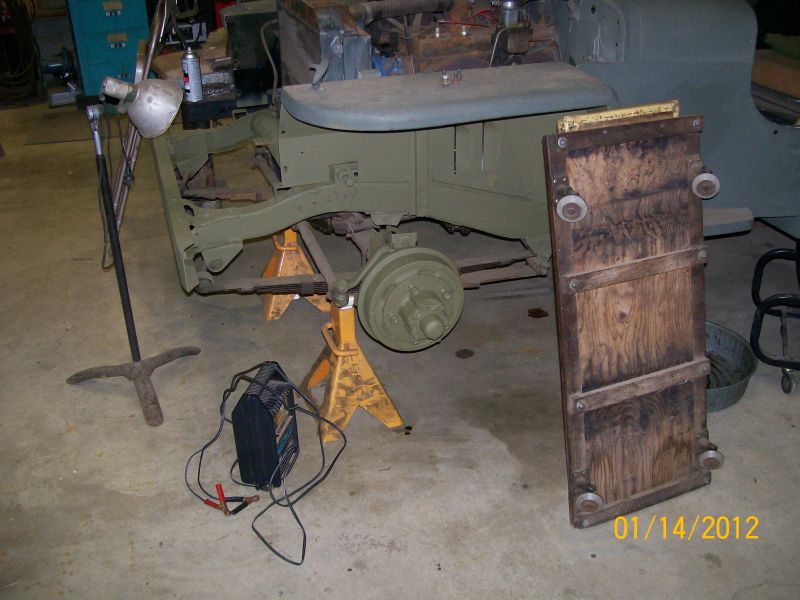
1/14/2012
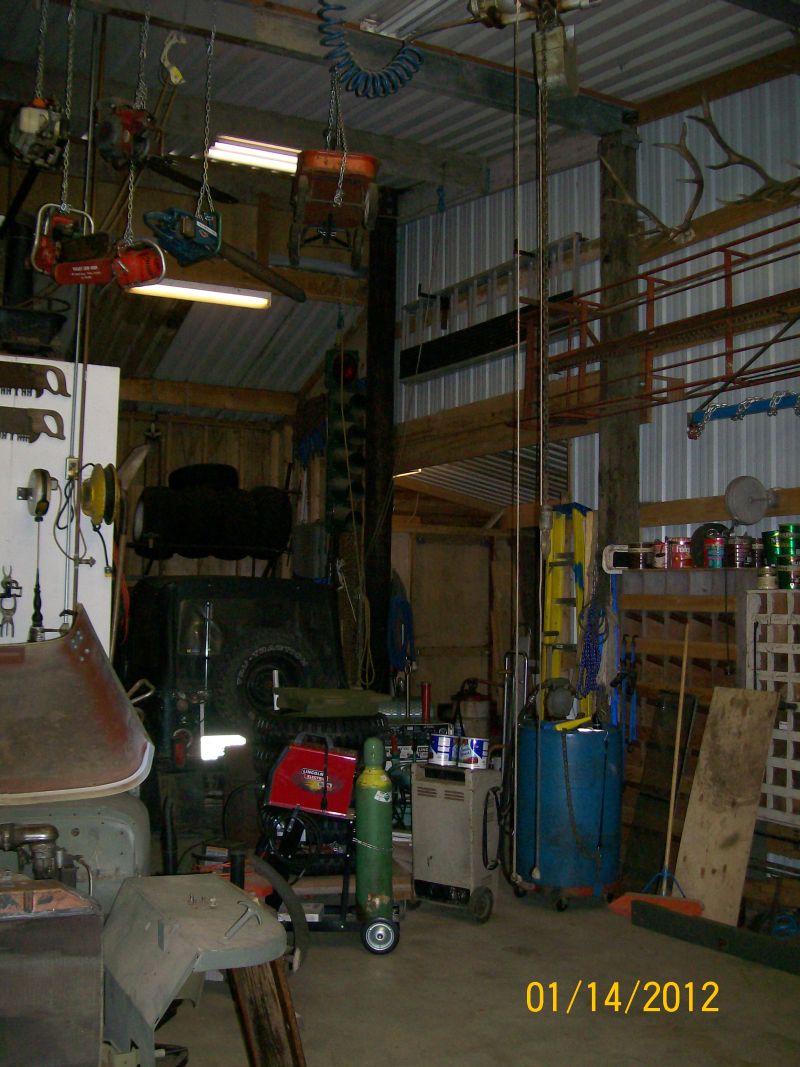
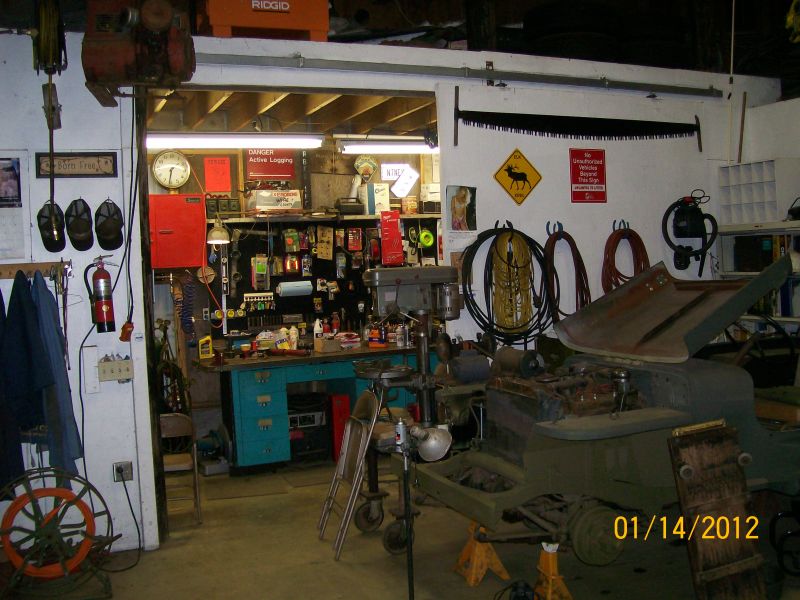
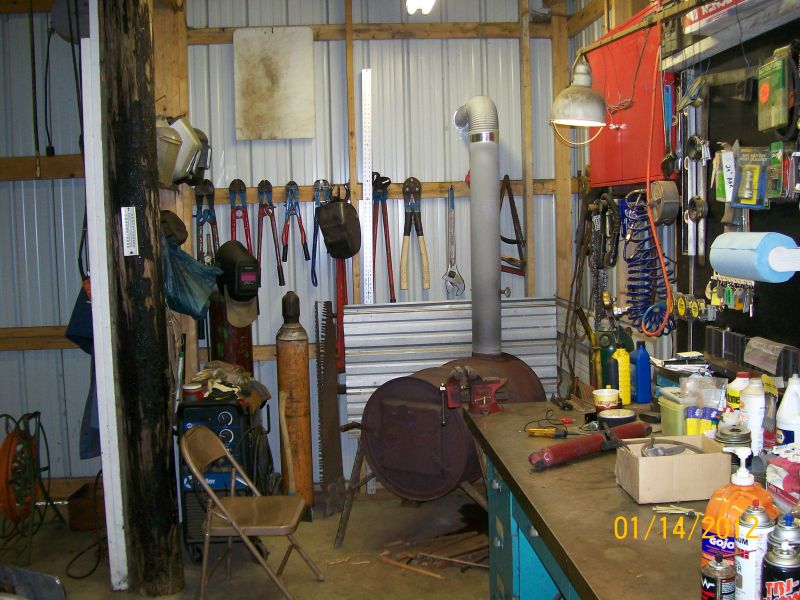
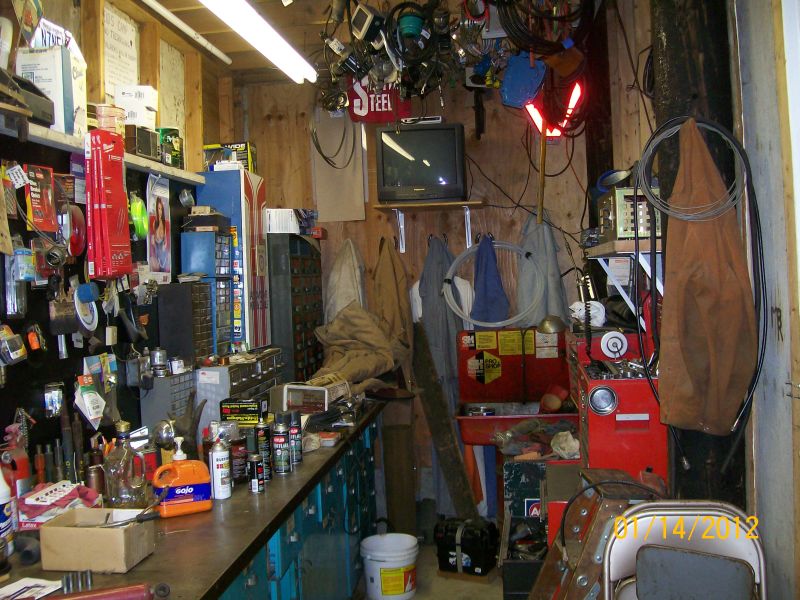
The restoration progress is going slow because of a lack of heat in my shop. It is just too darned cold to be painting the cold steel. The tool room of my shop, I can heat with my barrel stove. The big bays (at about 20' high) just can't be heated !
High shop ceiling Tool Room

Painting Hubs, Drums, Frame & install of new Shocks